Showing posts with label ready stock. Show all posts

Tuesday, June 9, 2015

饺子三层包

这个包包也是彭莉娟alice老师设计的。外表像饺子,因为鼓鼓的。外表很可爱。所以我配了粉紫色和天空蓝,整个就是粉色系,俘虏女性的心。
这个就是完成后的整体照。


包包分成3个隔层,中间一层由拉链关起来,左右2边就没有拉链,也没有磁扣。其中一边有一个隐藏式拉链。
在做这个包包的时候,我就想象一位妈妈往包包里塞宝宝衣服,纸尿片在左边的间隔。右边的间隔则放奶瓶,奶粉和温开水。
中间有拉链的间隔当然是放妈妈的钱包电话车钥匙。

包包提把是可以调节的合成皮,鸡眼扣则是从台湾进口的。

这个包包尺寸是, 高: 33cm, 长: 23.5cm, 宽: 11.5cm
定价为: 马币RM 190

Saturday, May 16, 2015

轻旅行袋


这是还没有装上提把的样子,很挺,包型很好看。容量很大。

 这是彭莉娟老师设计的包款,收录在她的4本著作的其中一本。
这个包包还没有售出,售价马币210。 尺寸: 高: 24cm 长: 36cm 宽: 13cm

Wednesday, July 24, 2013

Round pouch tutorial part 3

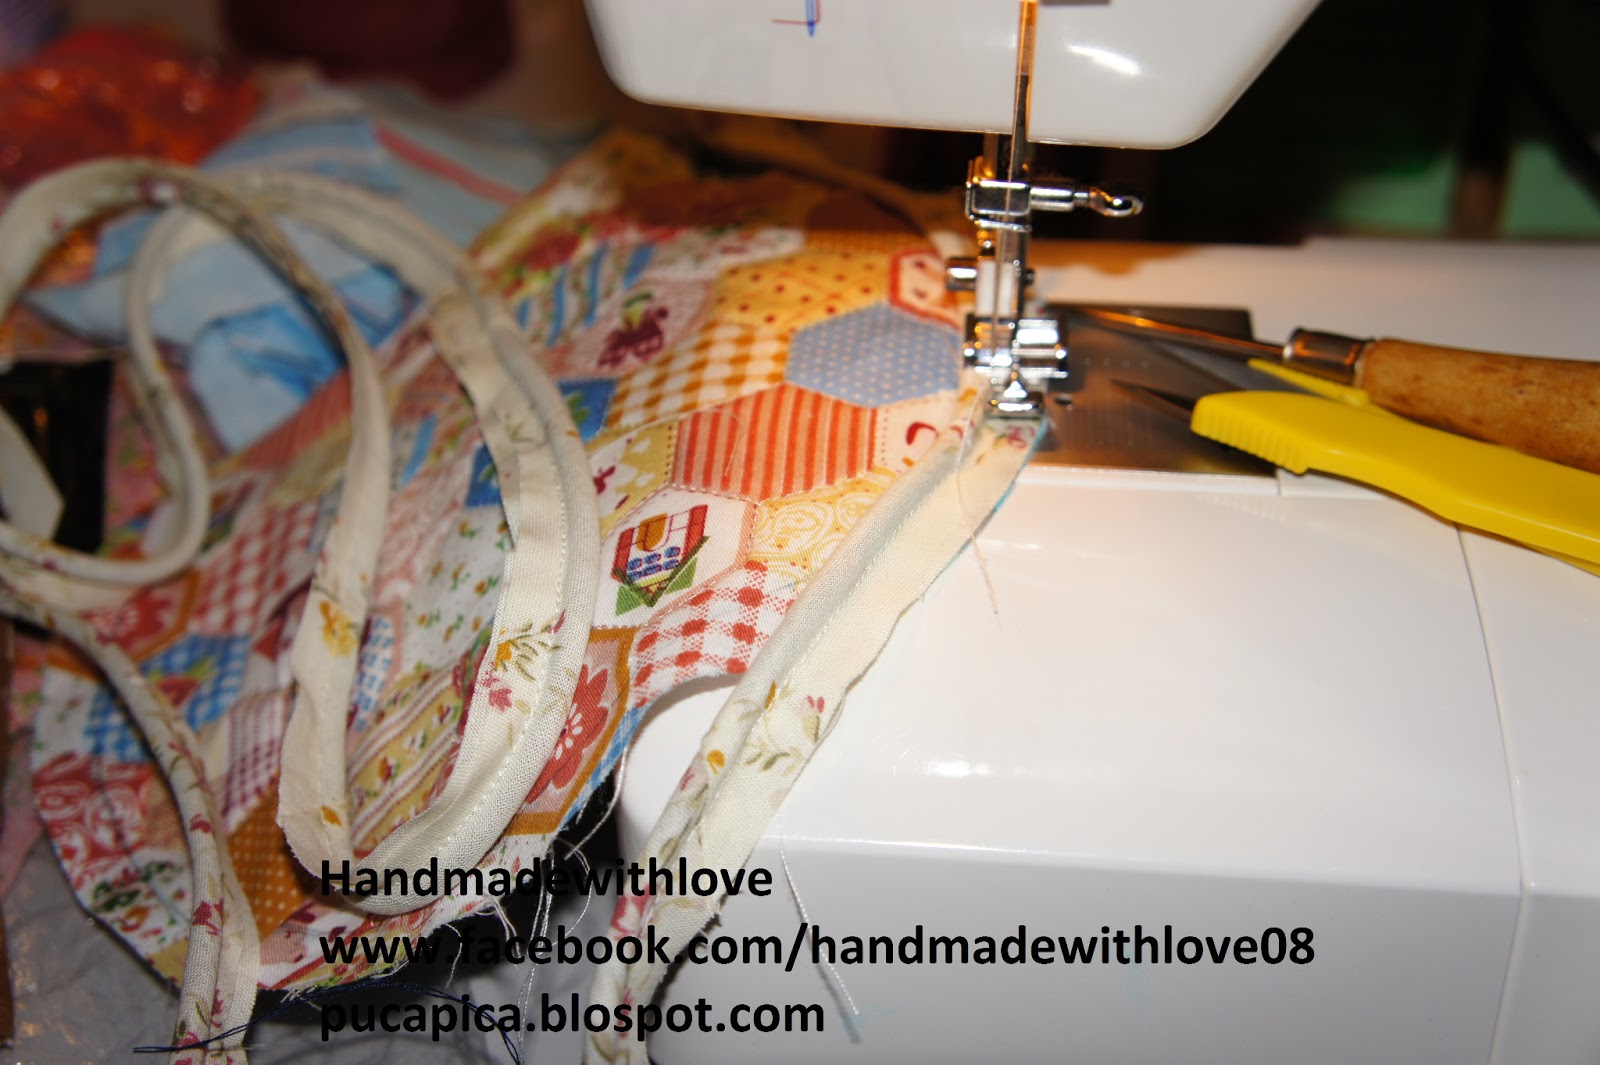
 1. By using sewing machine, attach the pouch base fabric to the zipper, don't forget to insert the small piece of fabric with eyelet too. This is the outer zipper part of the pouch.
2. This is the inner zipper part of the pouch.
 3. These are the parts to be sew together.
 4. After completed sewing one side of the outer layer of the pouch, it looks like this.
 5. Completed with both side of the outer layer of the pouch.
6. The other side of the pouch.

Wednesday, July 17, 2013

Round pouch tutorial

 4. After quilting the outer layer of the pouch, sew the bias around it.
 5.This are the outer layers of the round pouch.
 6. This is the zipper for the round pouch, decorated with the same fabric as the outer layer of the pouch. This pouch needs a 20cm zipper, my zipper is nearly 30cm, so I'm going hide the excess inside the bag.
7. These two small fabric will serve as holder for the pouch, with eyelets attached.

Sunday, July 14, 2013

Round pouch tutorials

 1. transfer the selected pattern to a piece of fabric. This will be the outer layer of the pouch.
 2. choose any suitable fabric for the applique. I chosed pink for the flower, and yellow for the leaves.
3. applique half done .

To be continued.